Transforming your pantry into a heritage-organized space is a rewarding journey that combines practical improvements with aesthetic refinement. This guide will help you begin with confidence, whether you're starting with a single shelf or planning a complete pantry renovation.
Step 1: Assessment and Planning
Evaluate Your Current Situation
Begin by honestly assessing your existing pantry. Take photographs from multiple angles, noting what works and what doesn't. Consider:
- Available space and current shelving configuration
- Items you use frequently versus rarely
- Problem areas where organization breaks down
- Natural light availability and ventilation
- Budget for gradual or comprehensive transformation
Step 2: Define Your Vision
Heritage organization succeeds when aligned with your specific needs and aesthetic preferences. Spend time with our inspiration gallery, noting elements that resonate with your style.
Consider Your Priorities
- Visual harmony and classical aesthetics
- Practical functionality for your cooking style
- Budget-conscious gradual improvement
- Specific storage challenges to address
Step 3: Start with Essentials
Begin Your Heritage Collection
Rather than purchasing everything at once, start with core essentials that provide immediate impact:
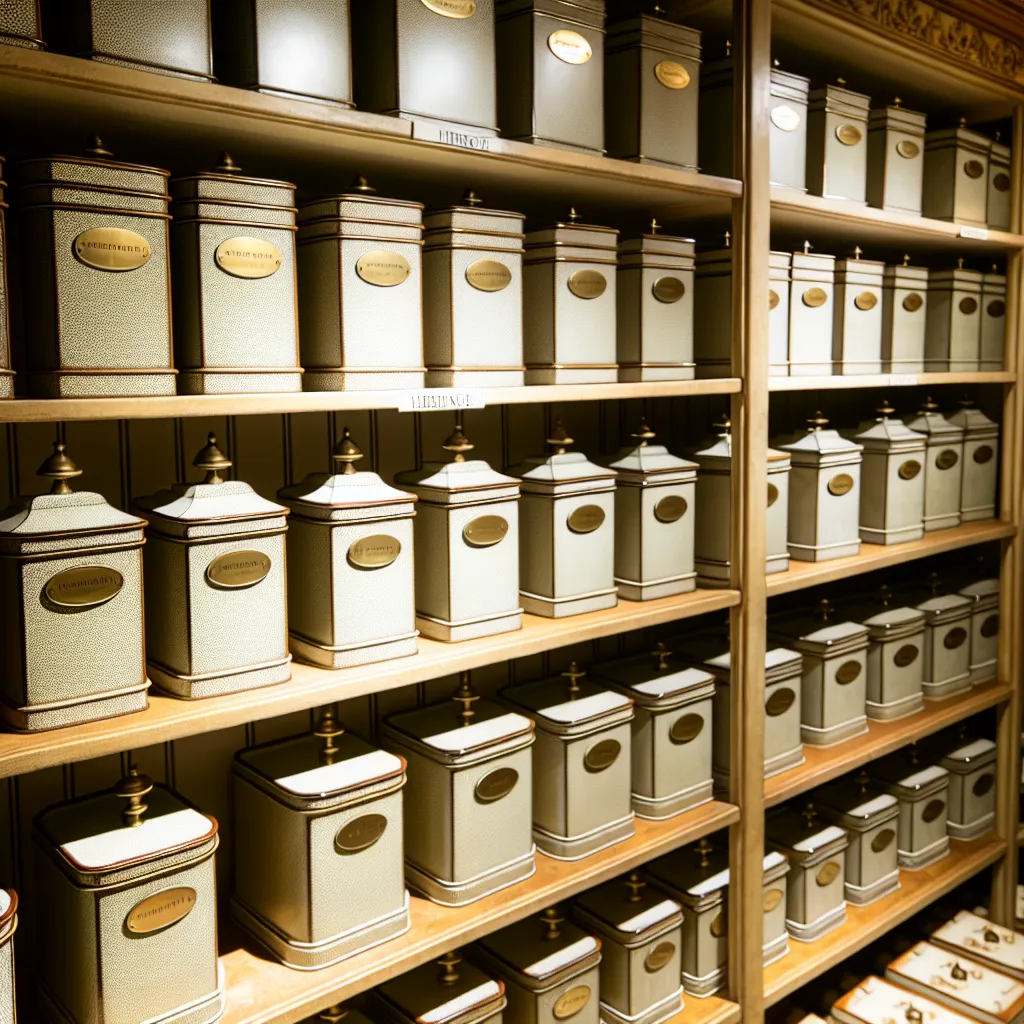
- Three Heritage Jars: For flour, sugar, and salt—your most-used ingredients
- Basic Labels: Simple brass clips or handwritten tags
- One Natural Basket: For organizing small items or produce
- Quality Shelf Liner: Natural linen or oak shelf paper
This modest beginning lets you experience heritage organization's benefits while building knowledge about what works in your specific space.

Step 4: Complete Initial Organization
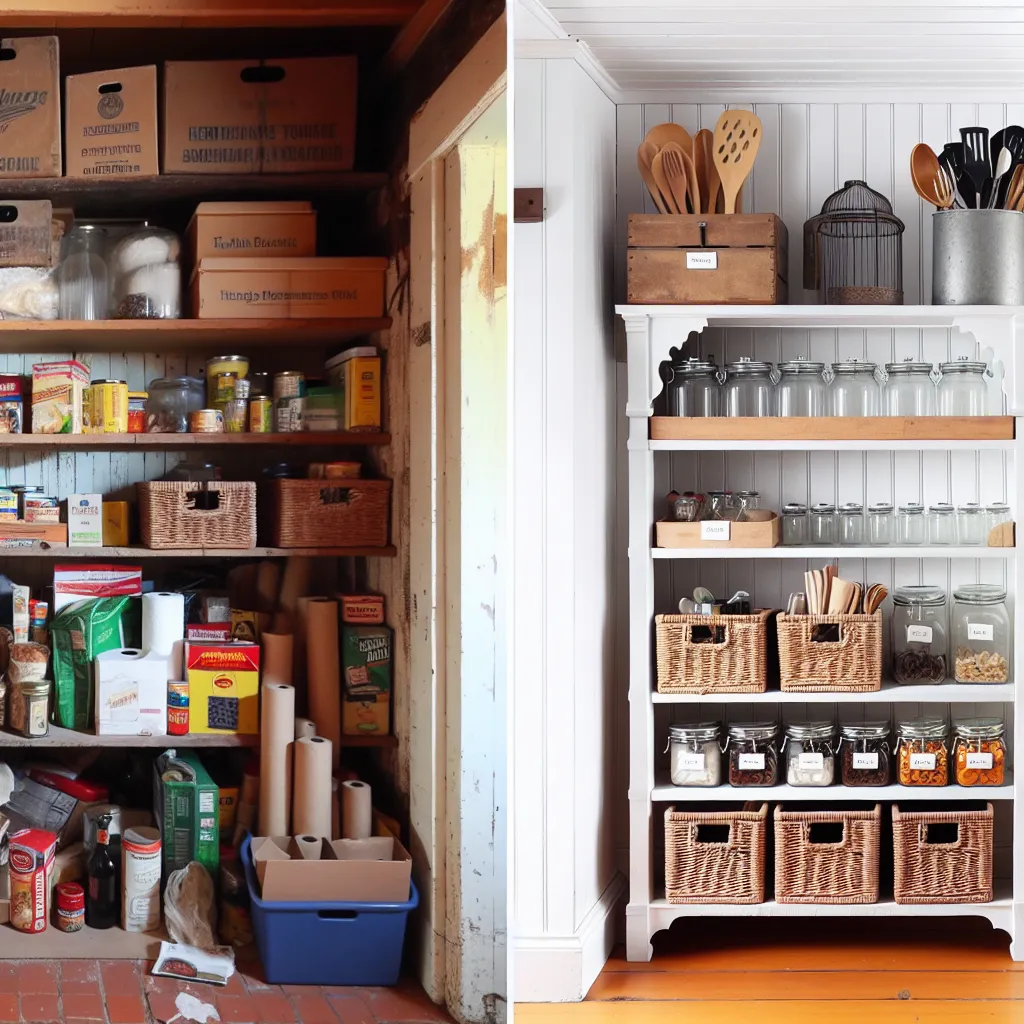
The First Deep Clean
Set aside a full day for this transformative process:
- Remove everything from your pantry
- Clean all surfaces thoroughly with natural cleaners
- Assess each item—discard expired goods, donate unused items
- Group remaining items by category
- Transfer essentials to your heritage containers
- Return items to pantry using classical organizational principles
Step 5: Build Gradually
Heritage organization develops over time. After establishing your foundation, add elements monthly or seasonally:
- Month 1-2: Additional jars for frequently-used ingredients
- Month 3-4: Spice organization system
- Month 5-6: Grain container collection
- Month 7-8: Baking station enhancement
- Ongoing: Refine, adjust, and perfect your system
Step 6: Establish Routines
Maintenance for Lasting Beauty
Heritage organization thrives with regular attention:
- Weekly: Quick tidy, return misplaced items
- Monthly: Wipe containers, check freshness, restock as needed
- Quarterly: Deep clean and seasonal refresh
- Annually: Comprehensive inventory and system evaluation
Common Beginner Mistakes to Avoid
- Buying too much initially: Build gradually, ensuring each piece serves genuine needs
- Ignoring your cooking patterns: Organize for how you actually cook, not idealized versions
- Choosing aesthetics over function: Beauty and practicality must coexist
- Expecting instant perfection: Heritage systems develop character through use and refinement
Resources for Your Journey
Explore our comprehensive guides to deepen your understanding:
Ready to Begin Your Transformation?
Our team is here to support your heritage pantry journey with guidance, inspiration, and expert advice.
Get Personalized GuidanceRemember: Heritage organization is a journey, not a destination. Enjoy each step of creating a pantry that serves beautifully for generations.